In the beginning, there was chaos
When I started with food photography, I didn’t have any backdrops. I photographed on a white surface and changed the background color in Photoshop. Watch this YouTube video if you want to give it a try.
It’s fun to do because you can choose any color you can imagine, but it’s very labor-intensive and time-consuming. I don’t recommend it for beginners unless you are handy with selection and masking.
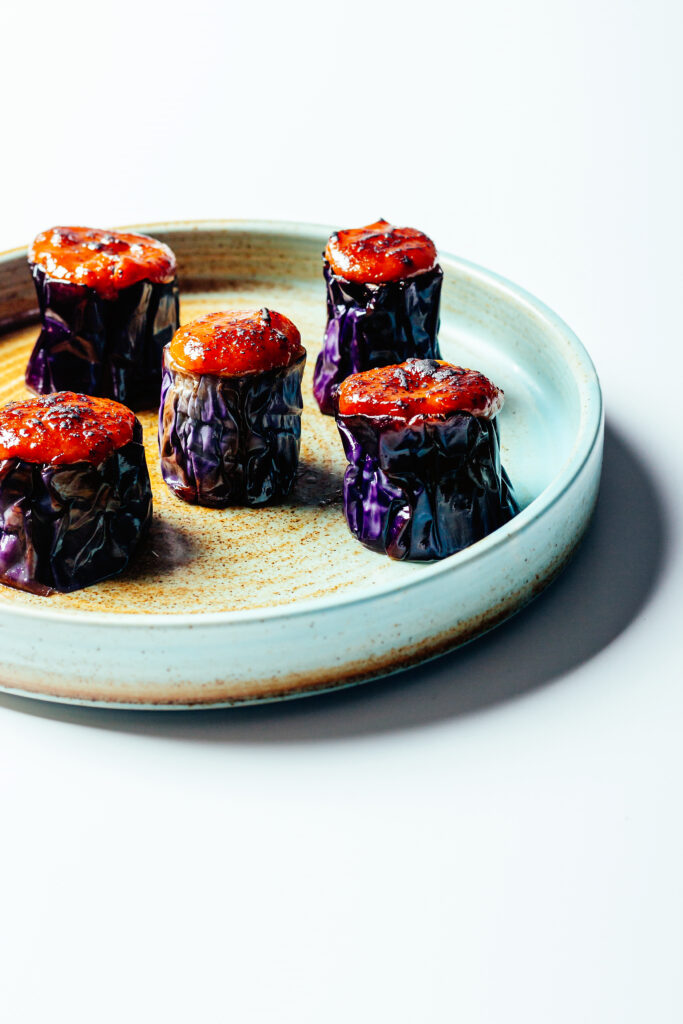
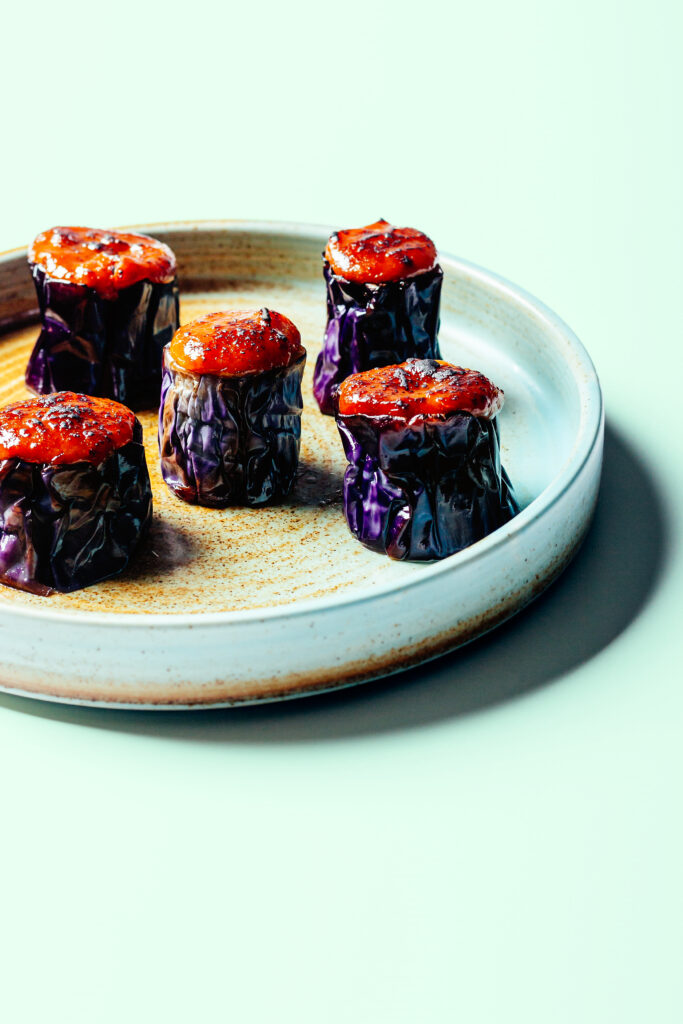
I did this for a long time, which resulted in a gallery of fun graphic concept images. You can see them in this portfolio
I created an action for background color change in Photoshop to speed up the process. When you have a regular shape like a bowl, it’s easy to do. Photoshop is pretty good at selecting the subject, but when you have complex organic shapes, that’s another story. You’d better make best friends with the Pen Tool.


What’s nice about this method is that you can sample the color from your photo to have a perfect match, like I did in the picture of Matcha above.
The Big Bang
After one and a half years of this madness, I bought my first photographic backdrops – a selection of marble, wood, stone, and wall textures. They were really cheap and still serve me well. They are some kind of paper prints with PVC coating, and some of them are hyperrealistic. BEWARE! I see people selling them online for 25 euros a piece. That’s a total rip-off. I think I paid 10 euros tops for a double-sided backdrop. This kind of backdrop is best for flat lays or as a background as they are not matte and can reflect light.

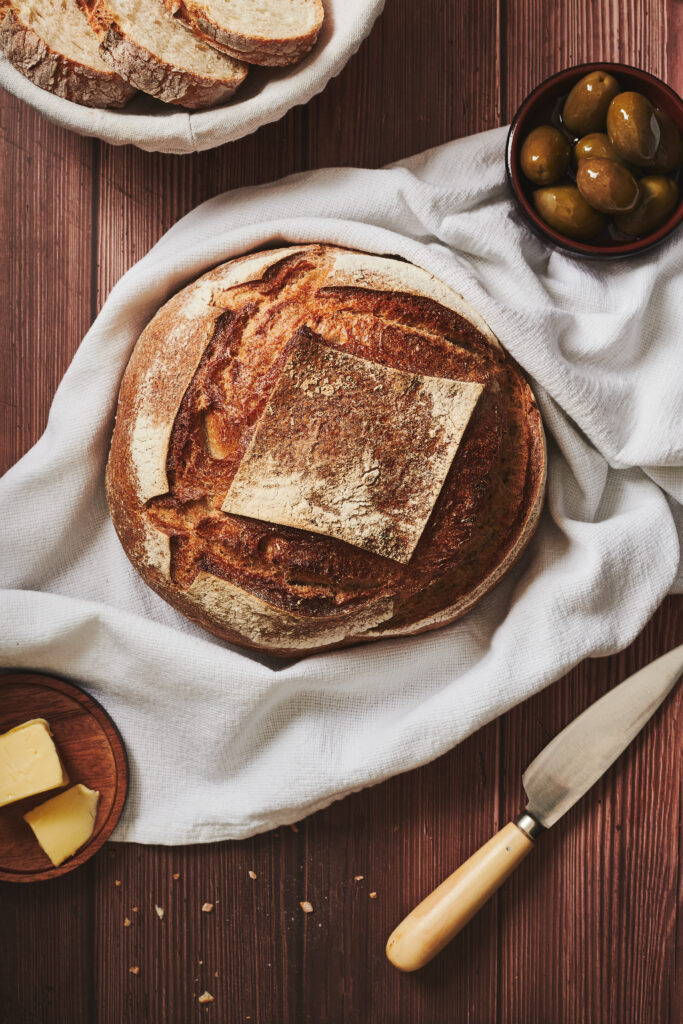

My world changed completely when I discovered vinyl backdrops. They are lightweight, matte, waterproof, easy to store, and come in a huge variety. They are more expensive than PVC but much cheaper than wood panels. Several companies on the market sell nice vinyl backdrops, and many of them specialise in food photography backgrounds. Google what’s in your area and pick the ones you like best. Be mindful of the shipping costs, though.
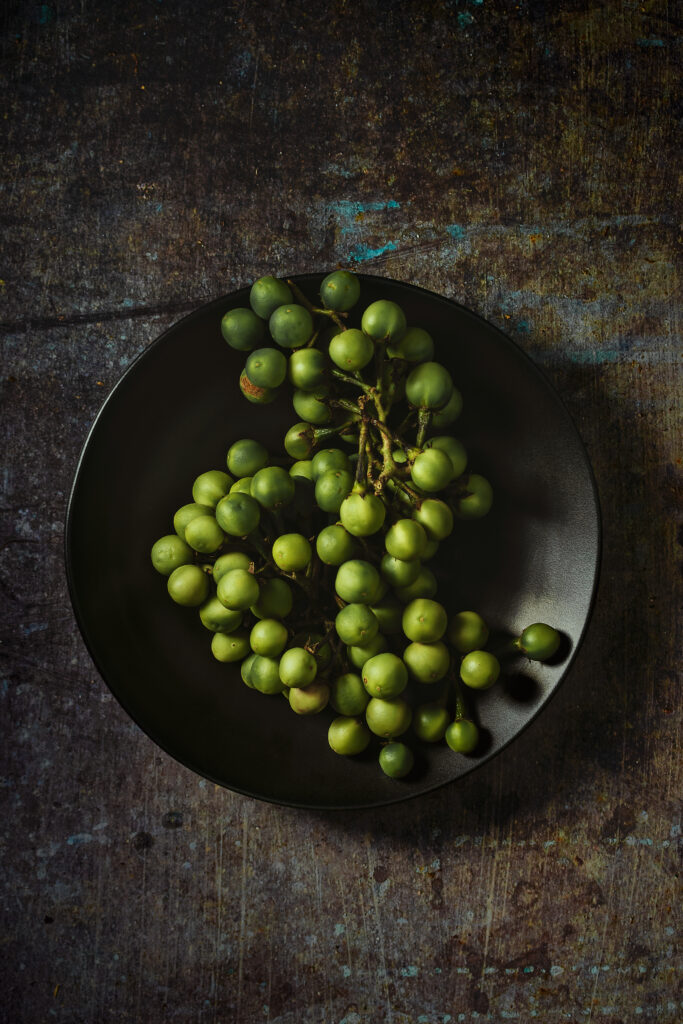

Such amazing textures and beautiful colors! It truly makes the mood. When you choose the right backdrop for your food story, the photograph can transport the viewer in time and space.
Watch out for reflections on the surface, especially on dark backdrops. You can get rid of them simply by adjusting the angle of your light source and blocking the light with a black foam board.
This is where the magic happens
Nowadays, you can probably get any backdrop you wish; companies offer custom-made ones as well. Build your collection carefully. Start with some all-rounders that will suit many scenarios. Have a few light-colored and a few dark ones to be able to showcase the time of the day and the changing seasons.
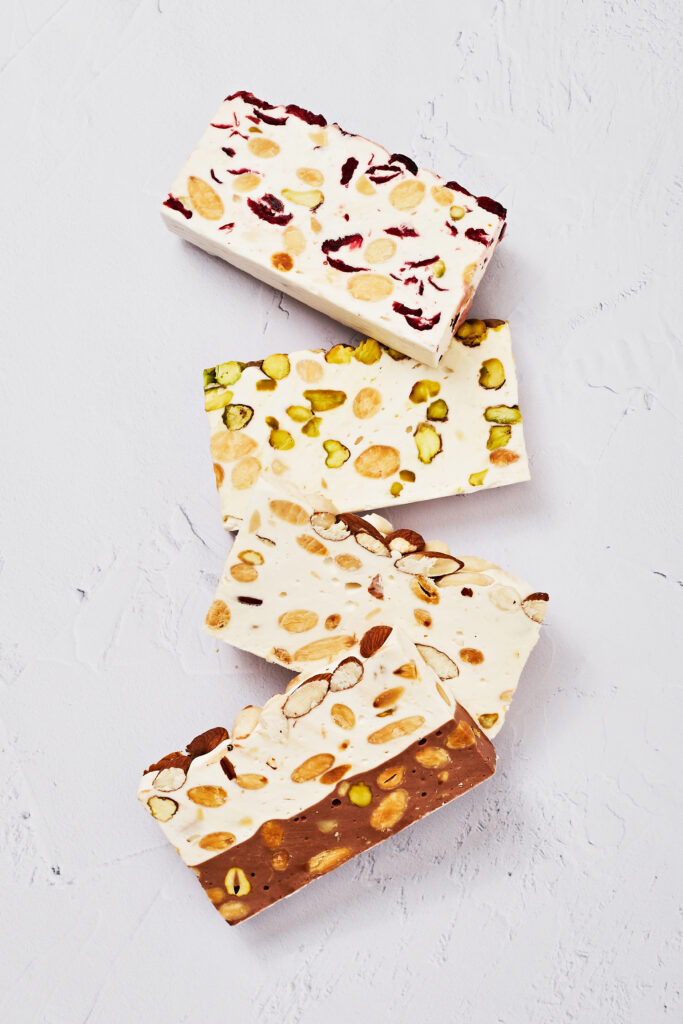
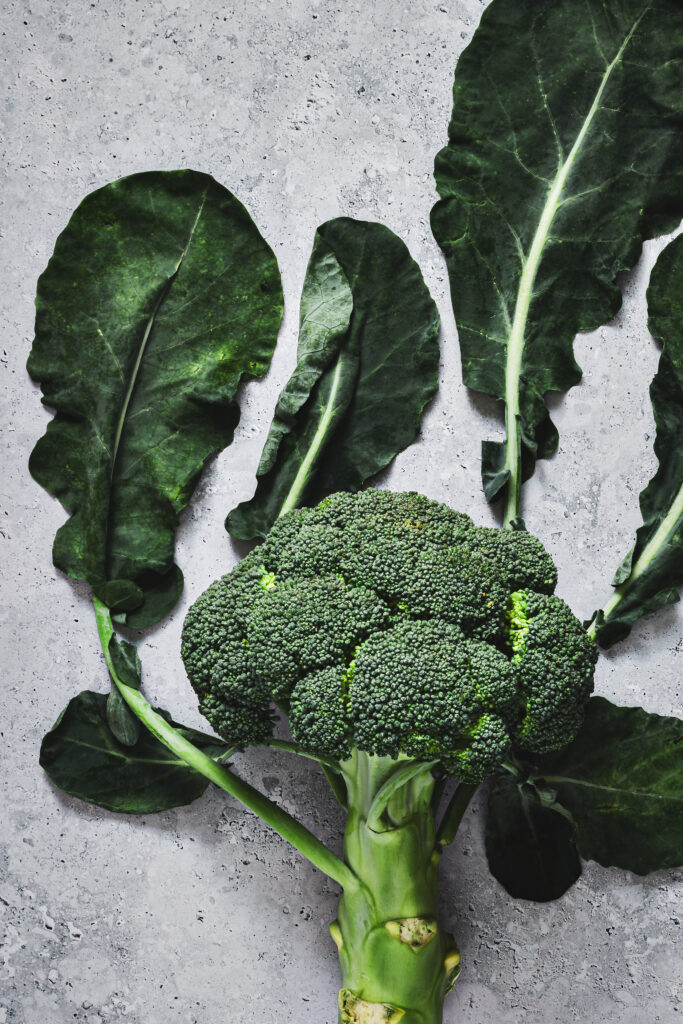
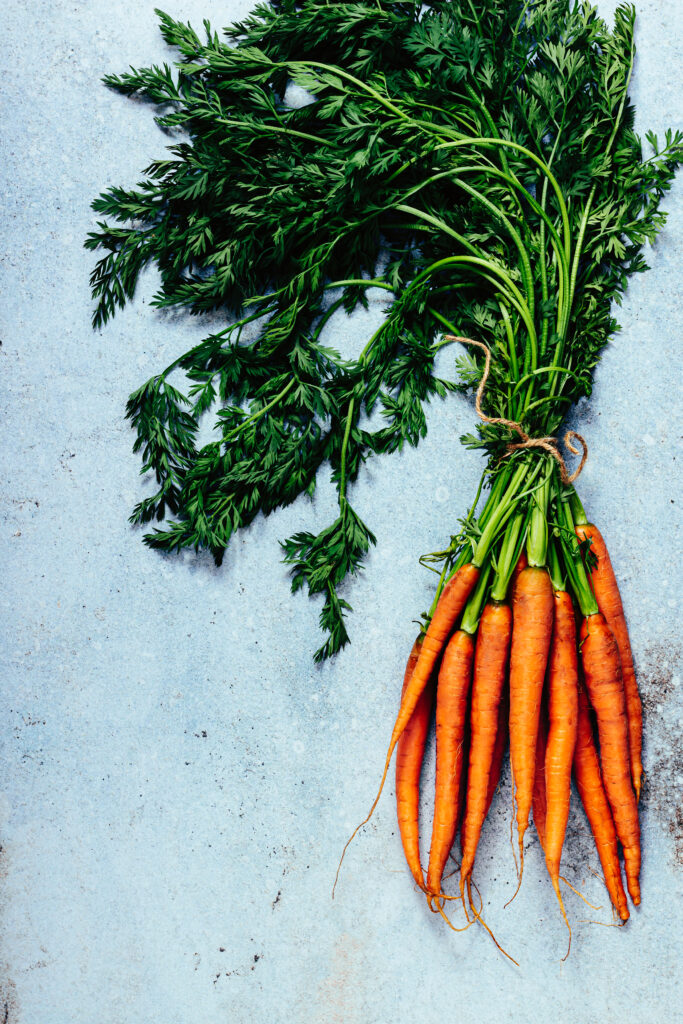
Don’t be afraid of bold colors, they are such fun. They will enable you to utilise the color theory to the full.
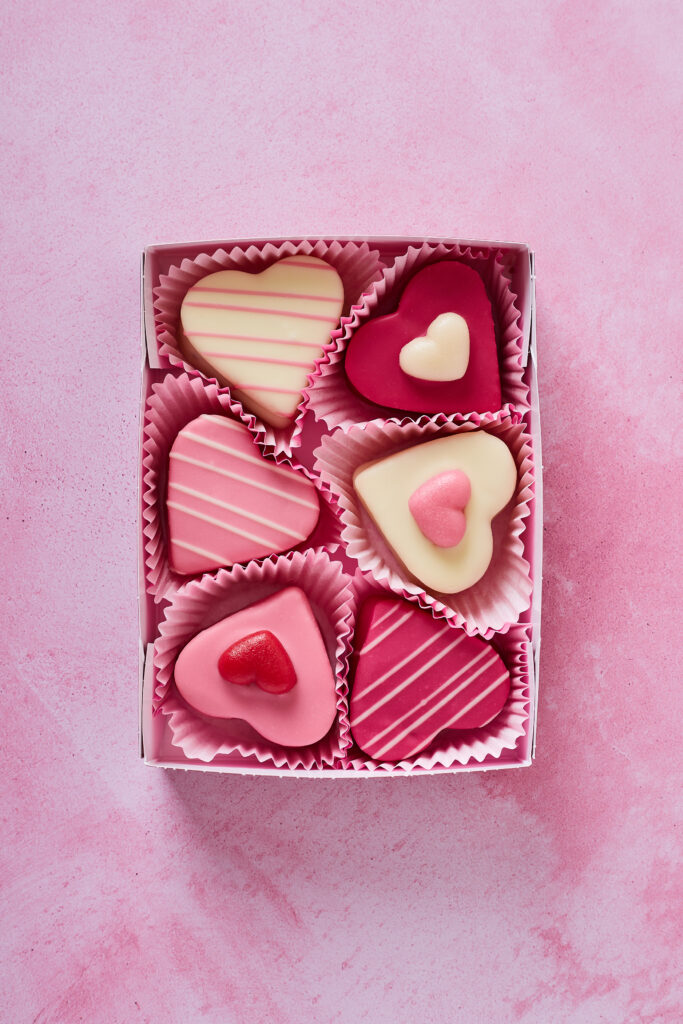
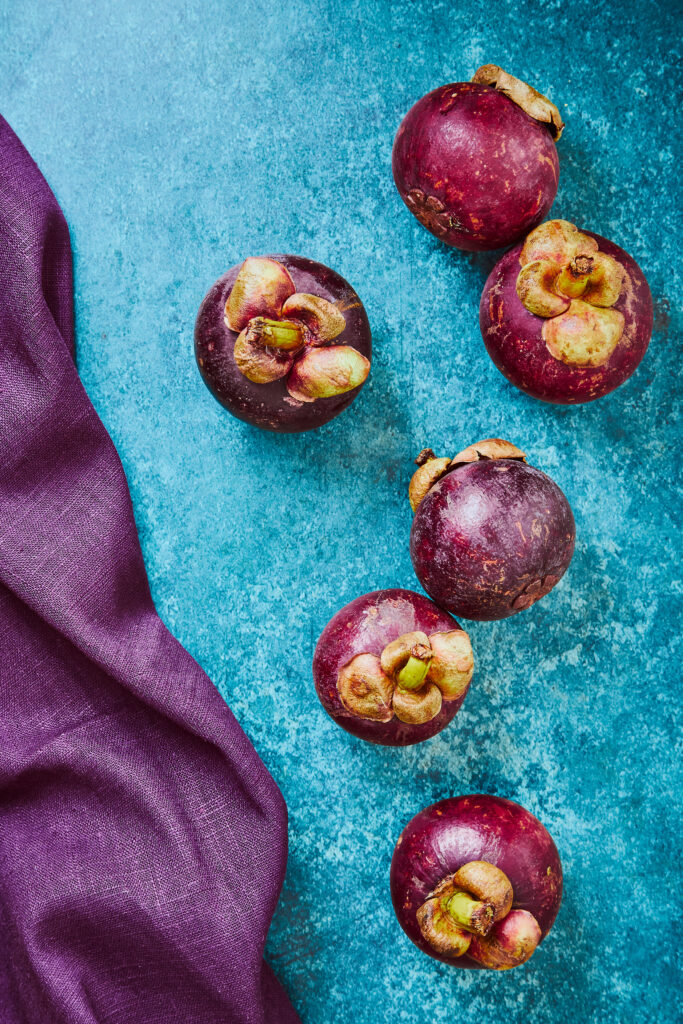

Get a selection of wood, tiles, and stone imitation backdrops to match different types of food. For example, maybe a colorful summer salad will look nice on a sandstone, and an apple pie will sit most comfortably on a rustic wooden table.

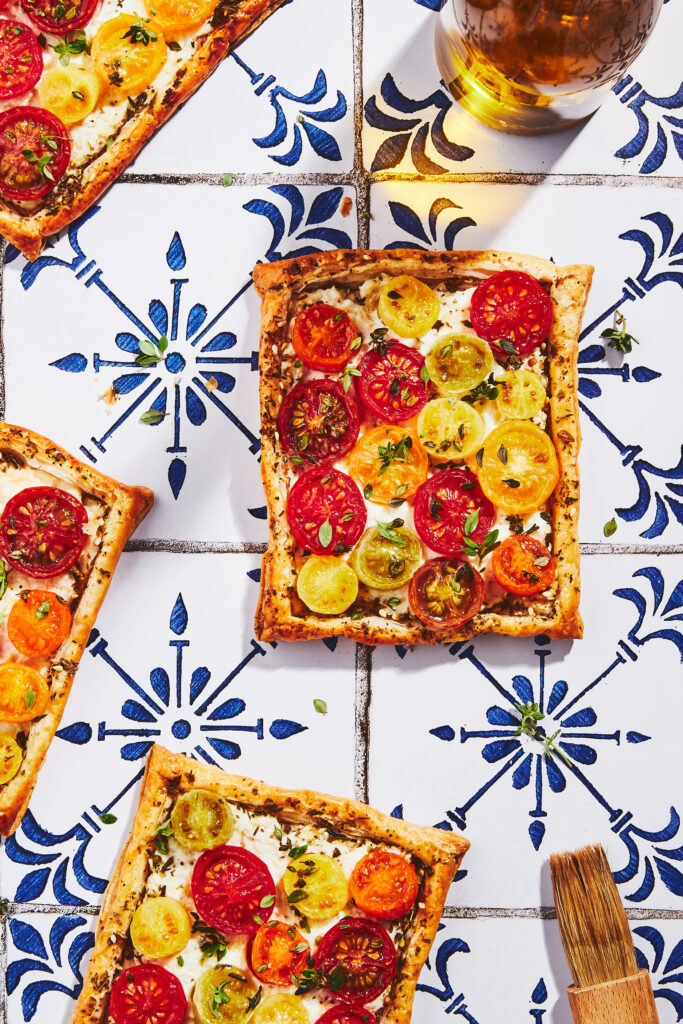

You can create tables, floors, doors, and walls with your backdrops to give more depth and a sense of space to your photograph.
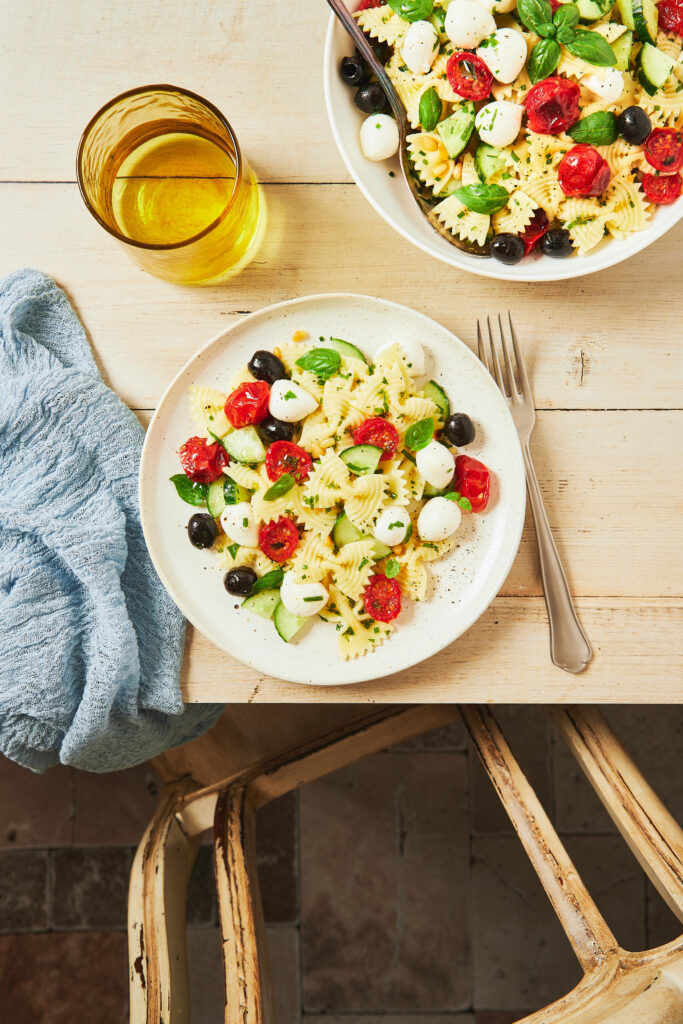

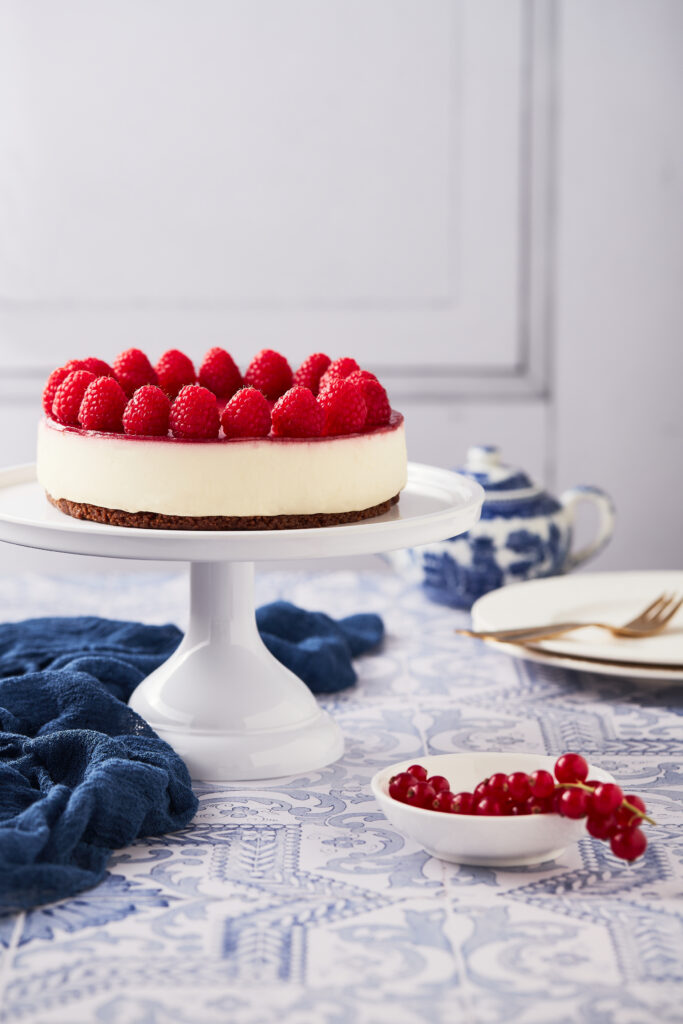
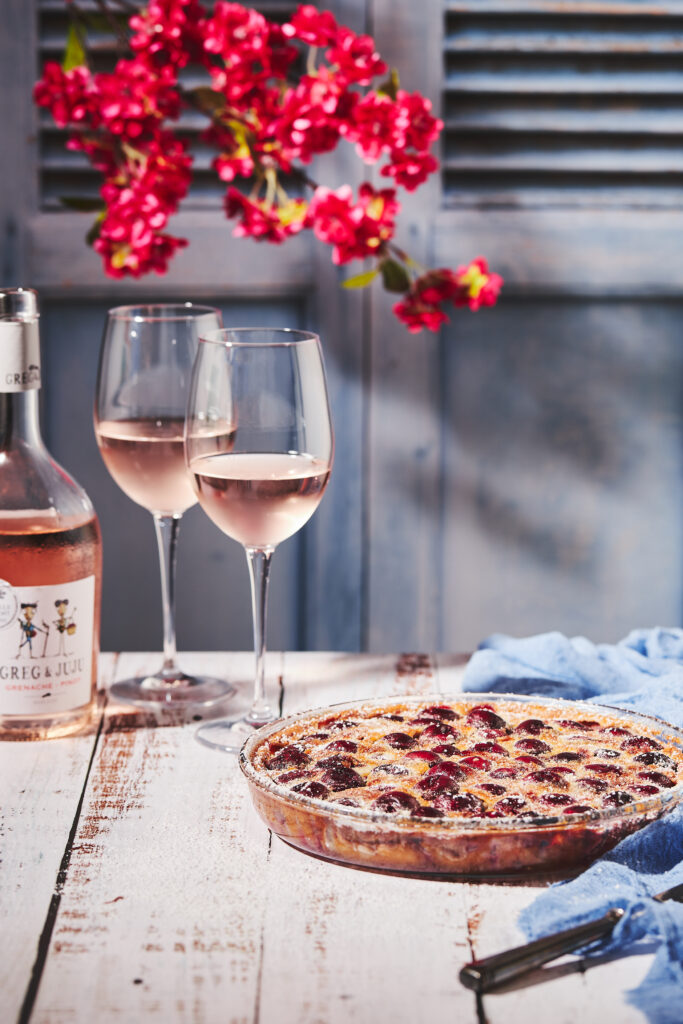
After some time, you will build a nice collection and be ready for every season and any occasion. I photographed all my backdrops and tagged them in Lightroom with keywords like light, dark, wood, stone, etc. And I also uploaded all the pictures to my Pinterest, where I can easily add them to my moodboards.
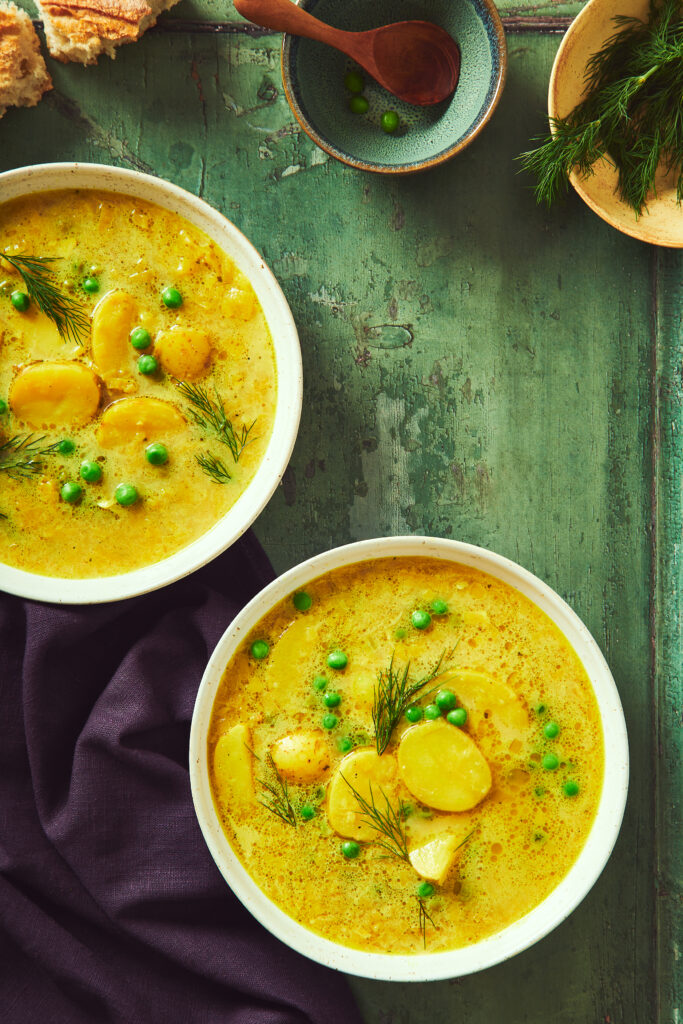
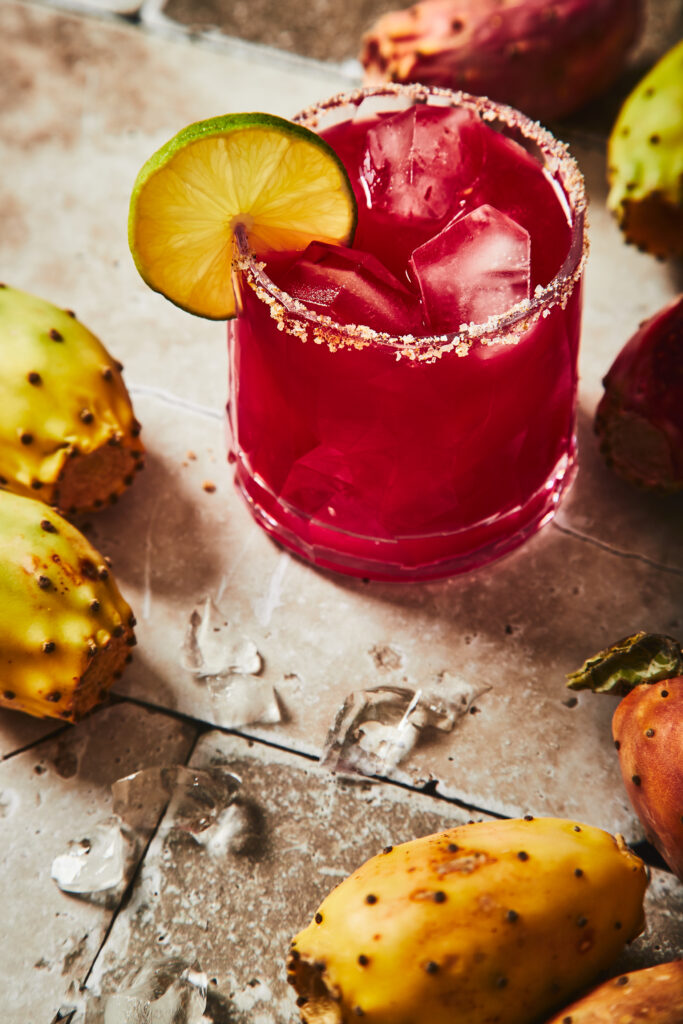
Choose your backdrops wisely. Don’t buy what is similar to what you already have. You don’t need all the colors of the rainbow, as you can change the hue of your backdrop in post-production. If you have money and space, order some wooden ones; they are gorgeous. And if you want to be original and are handy, you can make your own wooden backdrops. You can find tutorials for DIY photography backgrounds on YouTube, like this one from Skyler Burt.
And first and foremost, do as I say, not as I do. By now, I have about a hundred.
you said: